Standard iDAS Installation for Standalone and Cloud (Network) License
-
Close Autodesk Civil 3D.
-
If you have Devotech iDAS version 8 and older on your computer, then uninstall it from the **Control panel – Programs and features:
**
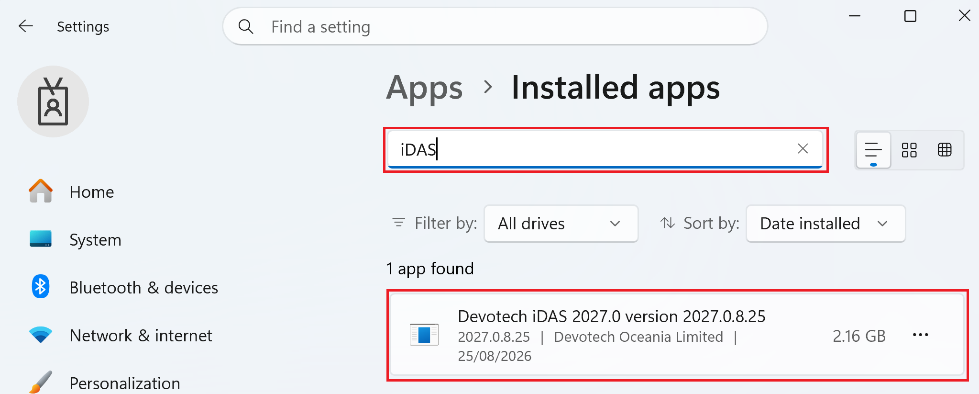
Devotech iDAS version 9 and newer are automatically uninstalled during the installation process.
-
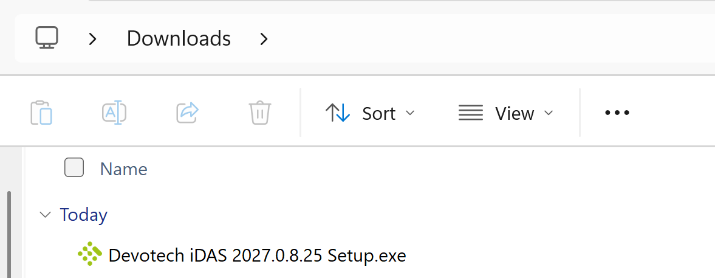
Double-click the downloaded installation file (.exe) to begin the installation process (the example below shows the installation file for version 2026.0.5.26):
-
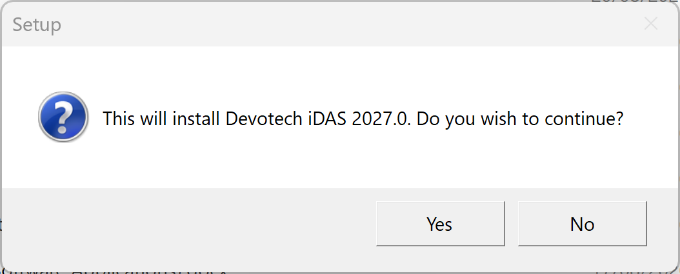
Click Yes to continue the installation:
-
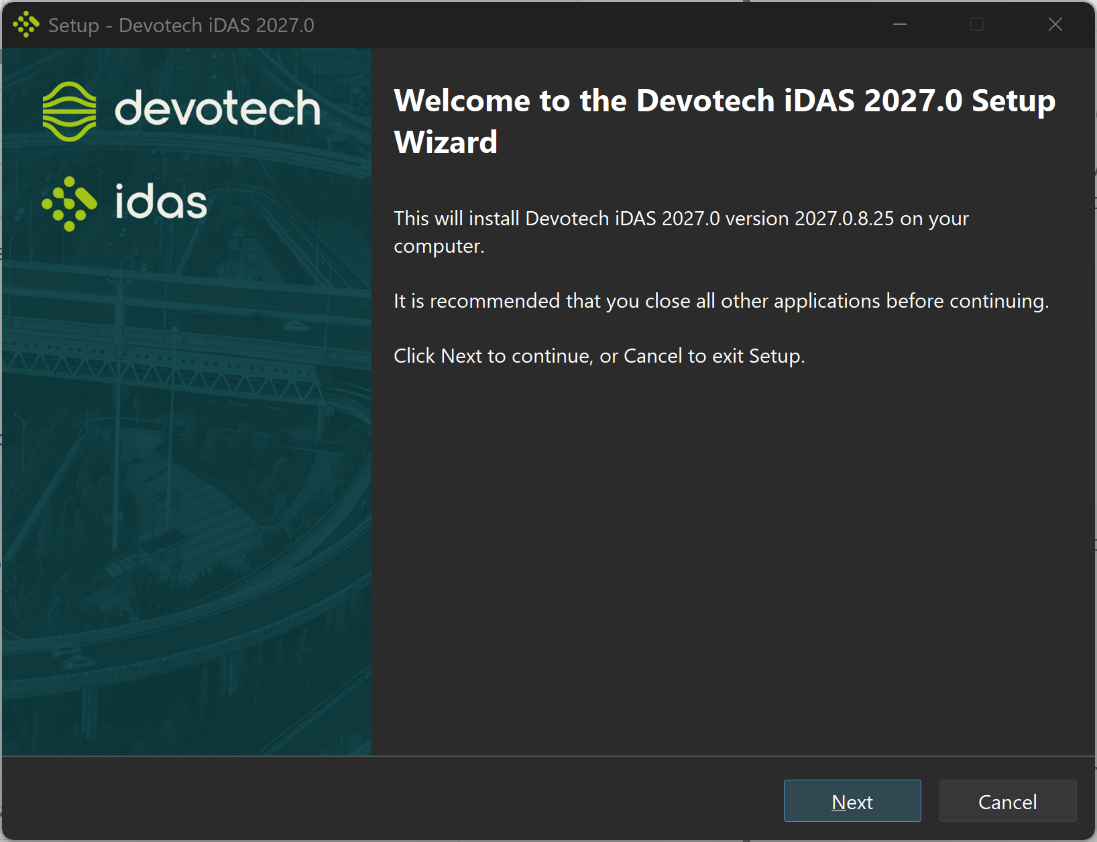
Click Next:
-
Preview the note about iDAS What's New and backwards compatibility:
-
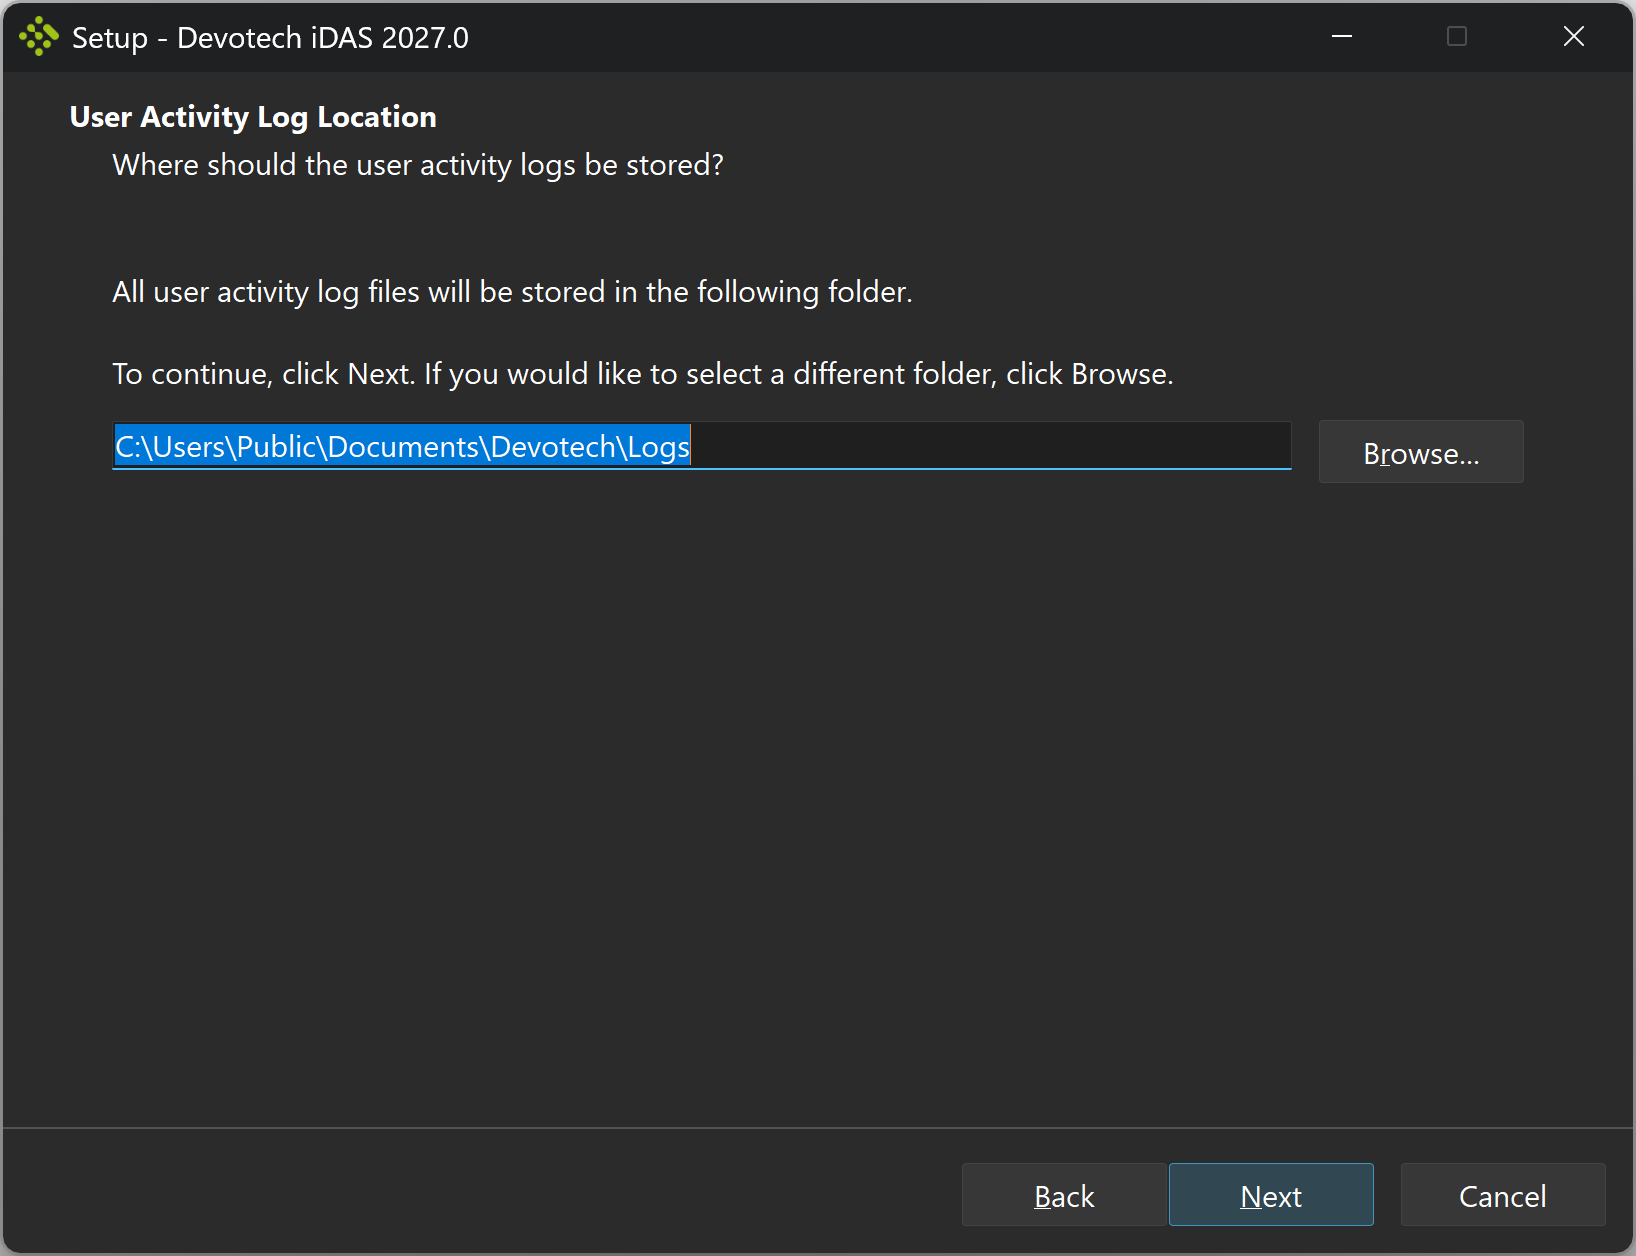
Preview the location for the activity logs and click Next:
-
Read the license agreement:
-
Click on the Install button to install the product:
Devotech iDAS files are installed in the following folder:
C:\Program Files\Autodesk\ApplicationPlugins\DEVOTECH.Bundle
All the Devotech iDAS support files (.ctb, dwt, help file, assemblies and others) can be found in the following folder:
C:\Program Files\Autodesk\ApplicationPlugins\DEVOTECH.Bundle\Contents\Support
Once the Devotech iDAS is installed, you should test if the installation was successful, see the next chapter for the details.