Water CommandDifficultyintermediateAdded2027.0StatusdraftImport CD Water Command
Description:
Creates a water pipe network from a Civil Designer water network .asc file.
Location on Compact Ribbon:
Location on Extended Ribbon:
Instructions:
The Civil Designer water network .asc file must be formatted correctly. If it contains valves (they are modelled as pipes in Civil Designer), the name must contain four letters, e.g. instead of FCV use FCVX
Before:
After (make sure all the columns are aligned):
All the columns for the valves must contain data (just copy the data from any other pipe):
Before:
After:
Do not use TAB when formatting, only use Spaces. If you accidentally used TAB, copy all the data to MS Word or Libre Office Writer, change the font to Courier New and display the formatting. A small arrow will be shown at the locations where a TAB was used:
-
To import a network from an .asc file, run the command.
-
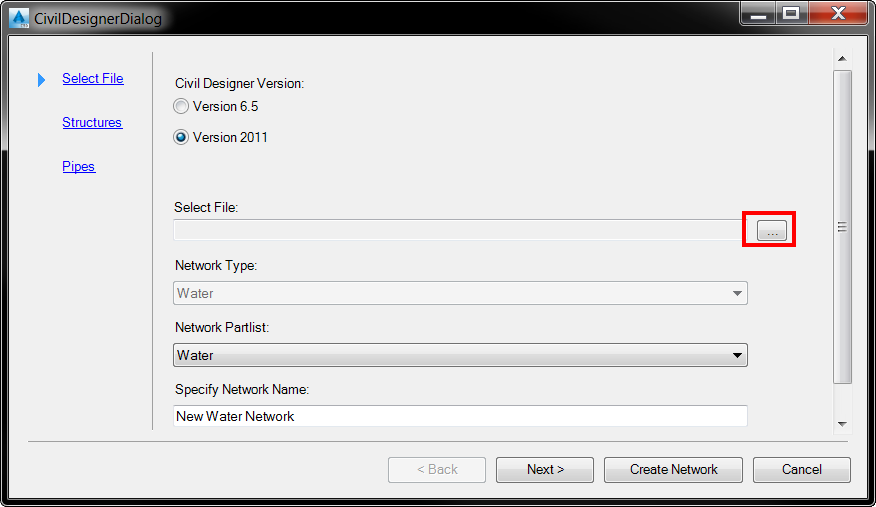
Specify the Civil Designer version, browse to the file, select the Network Part List and Specify Network Name:
-
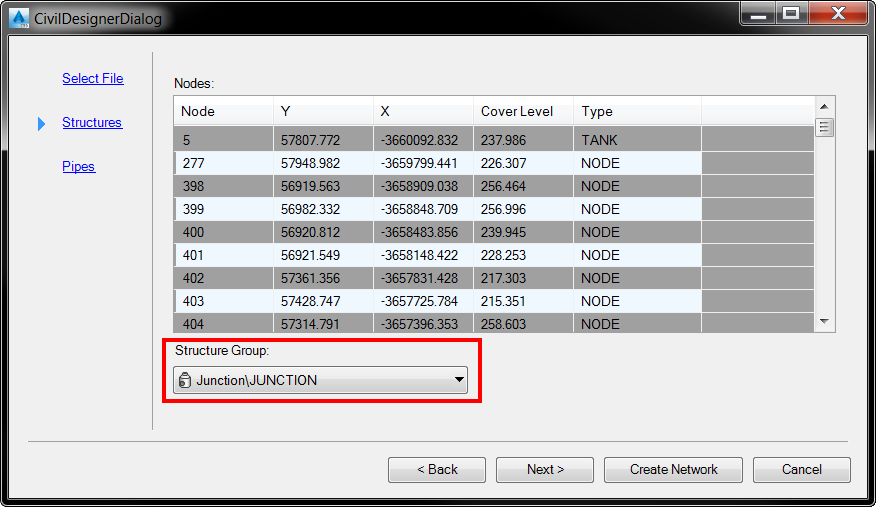
Specify the default structure style:
-
Specify the default pipe style and click on Create Network:
Created network: